Adding an external hard drive to the Unifi Cloud Key Gen2 Plus
I’ve been expanding my homelab with Unifi Protect gear. To run the Protect backend at this time you need either a Cloud Key Gen2 Plus, Dream Machine Pro, Dream Machine Special Edition or UNVR (Pro). All of these are rack-mounted systems except for the Cloud Key Gen2 Plus, which is a relatively compact option in comparison.
The Cloud Key Plus (UCK G2 Plus) is a compact, powerful UniFi OS Console with pre-installed UniFi Network and Protect applications and an upgradeable, 1 terabyte (TB) hard disk drive (HDD).
— Source: https://store.ui.com/collections/unifi-network-unifi-os-consoles/products/unifi-cloudkey-plus
However, for some reason Ubiquiti decided to equip the Cloud Key G2 Plus with a 2.5″ hard drive slot. While it is upgradeable, your options are actually very limited. The largest 2.5″ HDDs you can find are 5TB (Seagate Barracuda) and are unfortunately SMR disks – shingled magnetic recording, which are particularly ill-suited for constant video recording. You can find many forums posts on the Ubiquiti forums complaining about this, such as this one or this one.
The only reasonable alternative for more disk space would be to buy their more expensive (rack-mounted) equipment. Instead, I wanted to see if it was possible to attach an external 3.5″ HDD to the Cloud Key G2 Plus. Several people had done it before, and I started working on a solution similar to the blog post of Chris Dzombak.
The eSATA adventure
TLDR: using an eSATA enclosure did not work for me. As opposed to Chris’s design, I wanted to make use of external hard disk in an eSATA enclosure. When connecting the original 1TB HDD via the enclosure, the Cloud Key booted fine. When I put in an 8TB HDD, the Cloud Key refused to boot, and would just show the Unifi logo forever. Using the same enclosure to inspect the drive via my computer over USB worked fine. It took me a long time to figure out that the enclosure was causing issues in this case. I ended up trying three different disks before hooking up an old PSU and using it to power a disk directly (without enclosure), which worked fine. If you have any idea why this didn’t work, let me know 🙂
The custom enclosure adventure
Since the eSATA adventure unfortunately didn’t work out the way I wanted it to, I built my own enclosure. I wanted it to be wall-mountable so the whole thing would fit in my utility closet. In this set-up, I used a SATA cable that runs from the Cloud Key to my 3.5″ HDD. To provide power to the hard disk, I used a SATA to Molex adapter.
Ingredients shopping list:
- SATA male to female (7-pin)
- SATA is only rated for max 1 meter. I personally got a 50cm cable that looks like this.
- Important: You need to remove the guides from the cable on both sides, otherwise the male end won’t fit in the female SATA end in the Cloud Key.
- SATA female 15-pin to Molex 4-pin
- Important: some SATA to Molex cables are notorious for causing fires. Make sure to get a cable with a crimped end. Do NOT buy an injection molded cable. Watch this video to recognize good/bad cables.
- 12V/5V 2A Molex power supply
While Chris’s blog explained to also connect the grounds together of the SATA 7-pin and 15-pin connector, this seemed unnecessary to me. While it couldn’t hurt, the grounds should already be connected internally (how else could eSATA function otherwise).
Tray cable helper
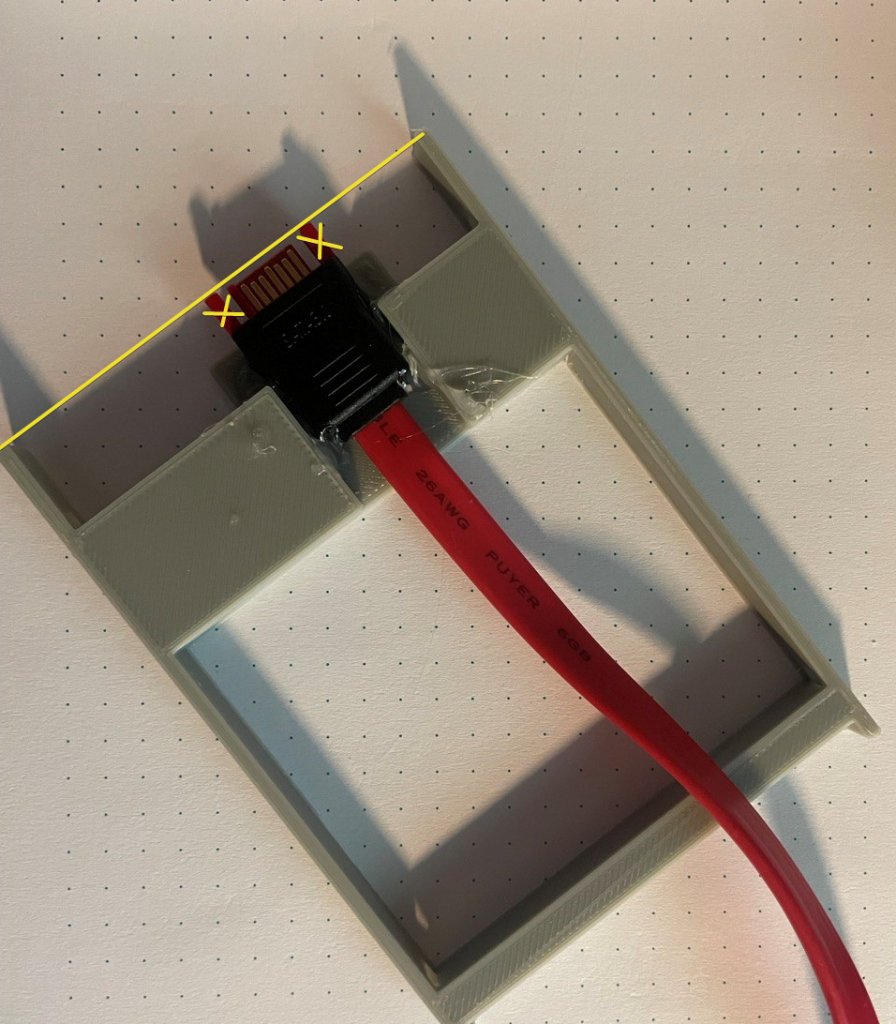
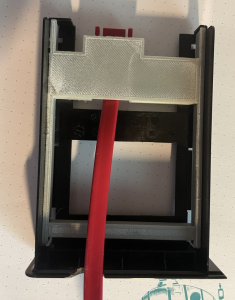
I made a 3D print that should fit snugly into the Cloud Key tray (note: very rushed tinkercad design 🙂 ). Just ensure the SATA cable aligns with the top ends of the print, and remove the two guides on both sides of the cable. Then hotglue the cable in place. I didn’t make it a perfect fit because this was faster and other people might be using slightly different cables.
Note that in the pictures the two cable guides are still in place, as I removed them later (after finding out it otherwise wouldn’t fit). I then used a Dremel to create an opening at the top of the Cloud Key tray that’s just big enough to get the SATA cable out.
Download: Tray cable helper (STL)
Wall mounts
As I intended to wall-mount the Cloud Key as well as the attached external hard drive, I got 3D prints for both.
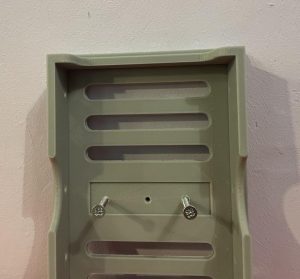
For the hard drive, I customized the “3.5in SATA HDD Enclosure” by fkuong. I went for this design as it provides more ventilation. I slightly modified it to add drill holes and added a small spacer so it would be ~7mm from the wall. I printed both parts separately as it’s easier to print that way. Note that the spacer is not visible in the picture below, but sits between the enclosure and the wall.
Download: Remixed SATA enclosure bottom (STL)
Download: Remixed SATA enclosure bottom spacer (STL)
You can find the STL for the top part of the enclosure on Thingiverse.
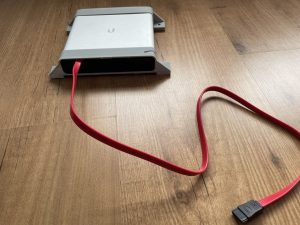
I then also printed a wall mount for the Cloud Key itself. For this, I used the “Cloud Key wall mount” by Kabumski design.
Hope this helps someone who is having the same idea!


Recent Comments